
Adding a Census
This is how to add a Census to a persons page
There are several kinds of Census that can be added. most common is the count ups. I will show an example of adding a “Folketelling” from 1865.
Here is the info i have found and will add.
On the census page, open the tab that says “Add”

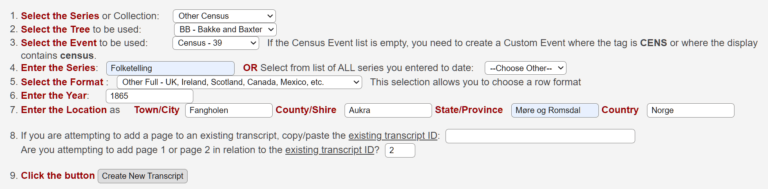
Here you add in the main information to create the Transcript.
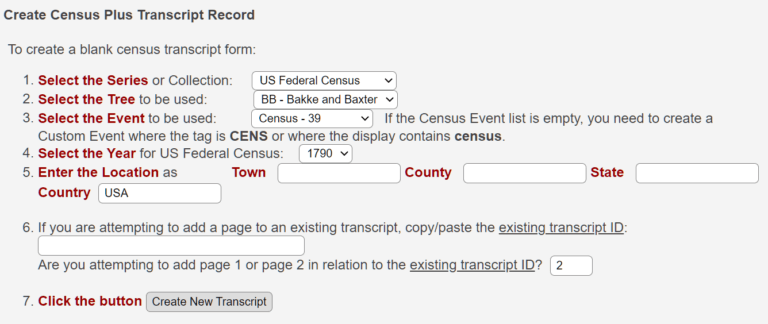
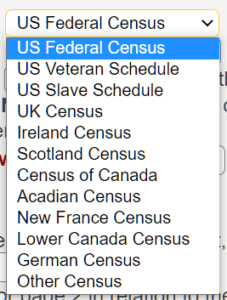
Select the Series or Collection :
The one I have used so far and will use in this example is the “Other Census” you can try out the others if you wish, there is option to cancel and start again if it does not fit what you want. Will post more about them if wanted later on 🙂
Each of those options gives you a different set of options to add. Here is the one for the “Other Census”
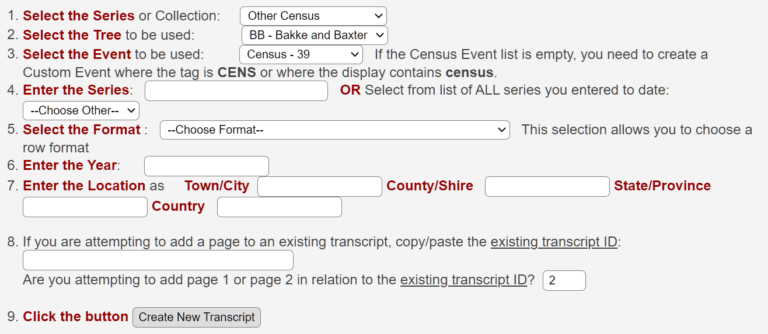
Select the Tree : At this moment there is only one tree, will change later if needed.
Select the Event : Default is Census – 39
But if you are adding a census for the same people on the same year, use Other Census for the second one. That is so that they do not crash.

Enter the Series : Is basically just naming the transcription. I have called it “Folketelling. That name will be located in the drop down menu for the next time you use it.
![]()
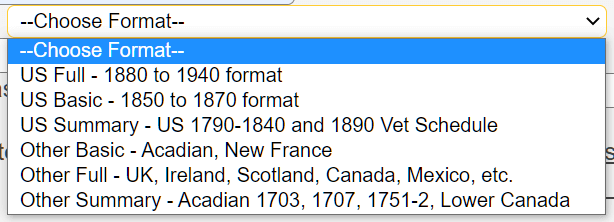
Select the format : Here you can try the different format and find the one that matches what you want to add. I will be using the Other Full format on this example.
Enter the Year : Add in the year the census was done, in this one i will add 1865.
![]()
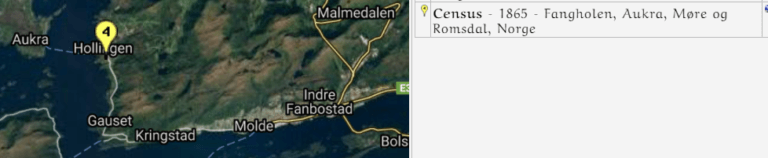
Enter the Location : Here you enter the location of where the census was done. This will be the location that will be shown on their events map. So want to keep it as exact as possible.
![]()
Now all the necessary boxes are filled out and ready to start the transcript.
An editable blank transcript form for the year and location you indicated will be returned, to which you can Add Detail Lines one line at a time.
When you finish entering the data in that transcript, click the Create New Transcript button at the bottom to create the transcript.
* You can find census listings for Other Census at
- Europe Census
- 1930 Mexico Census
- FamilySearch Censuses
After pressing “Create New Transcript” a new window will open and you will see this. You will see there are 2 places you cancel and stop this if the format is not what you want.
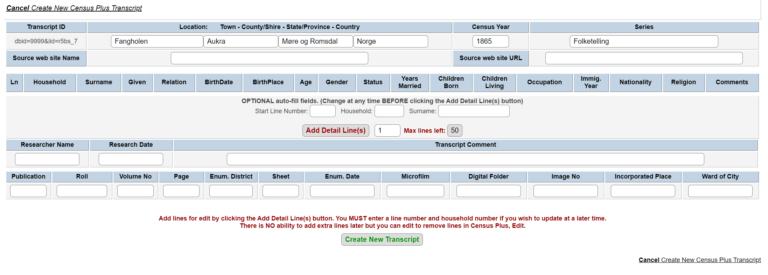
First row of boxes is from what you entered on the previous page.
Second row you add in the resource site name and url.
The third row is where start adding in the info. I want 6 rows and for them to start with 001.

This is what you will see with the other full format census.

Here is the example filled out, not much this time but you should keep it as close to the original as possible.
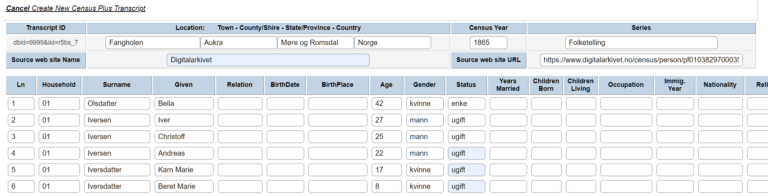
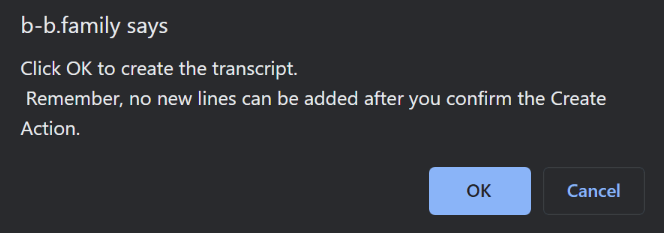
Now you press “Create New Transcript”

You will get a warning that you can not add extra lines, if that is good then press OK.
Next window shows the result with the new transcript..
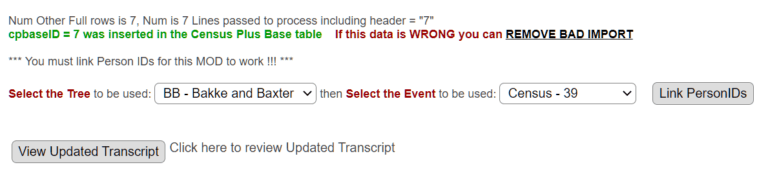
You still have an option to cancel and start again.
You can change the Tree and Event type if needed.
If all is good then you will start linking the person ids to this census. Press the Link Persons ID button.
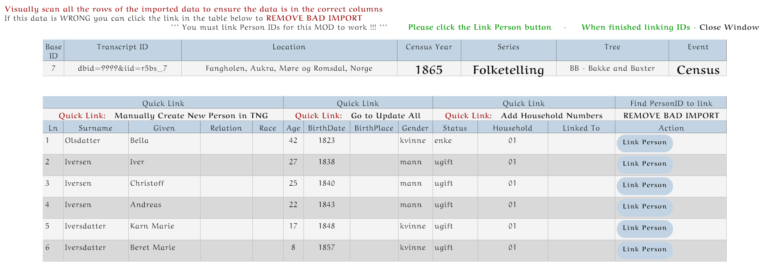
On this page you look over the data and make sure it is correct. Then you can press the link person button.
On the next window you will see several options on how to locate the person
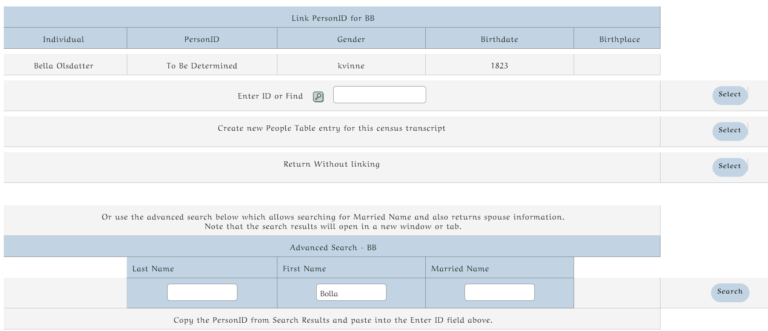
I usually just use the search button. ![]() then the popup will open add teh search name and press it.
then the popup will open add teh search name and press it.
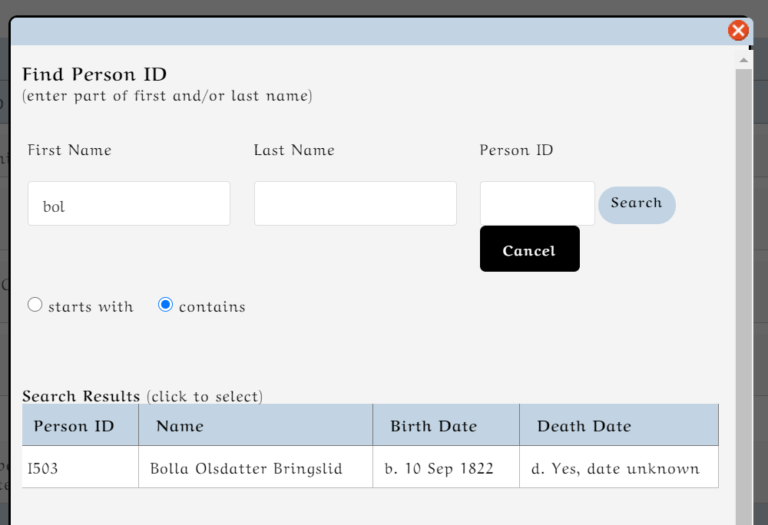
The ID nr has been added and you press “Select”
![]()
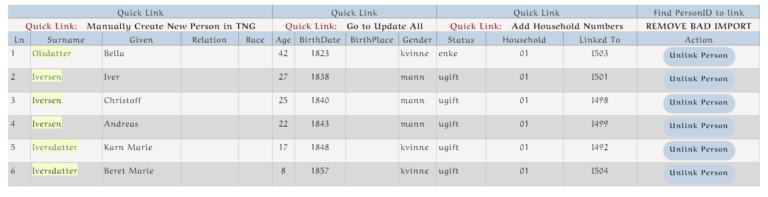
You will now see the line is now linked to a person on the tree.
![]()
Now you do the same with the remaining people.
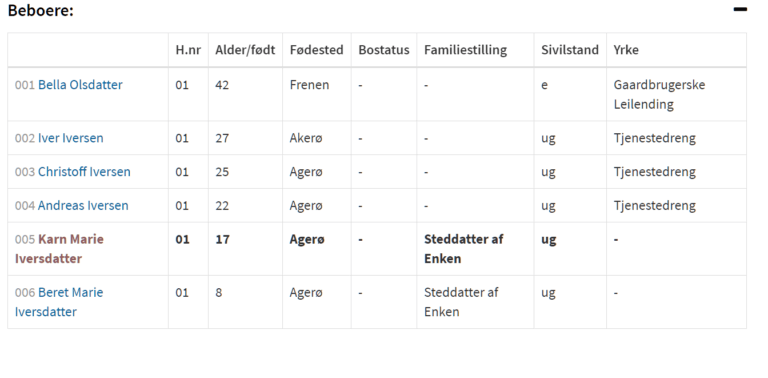
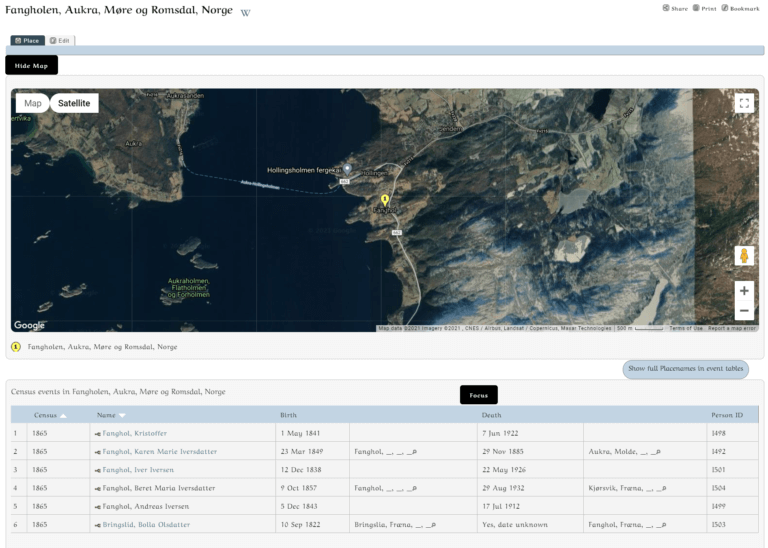
They are all linked now and you can close this window if all the data is correct. Below is the result of this census. This is what you see on each of the persons page.

You can also see them on the page for the place.
Lot of steps but well worth it, will add a separate guideline on editing them as i see i forgot somethings ;).
Leave A Comment