
Pt 3 – Adding / Editing a Headstone
This is how to add/edit a headstone
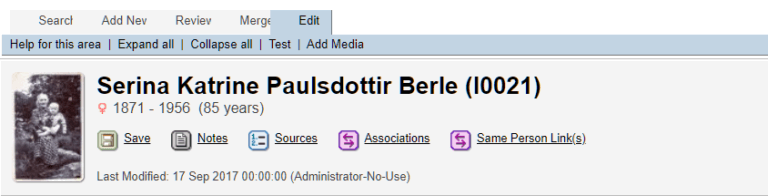
Go to the persons page that you want to add a headstone for and access their editing page.
To edit already uploaded headstones it is the same info as below, to access it there is a edit button main image page, scroll to bottom too see example.
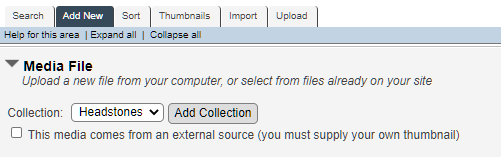
Press the “Add Media” button in the tab menu.
Set the “Collection” to Headstones
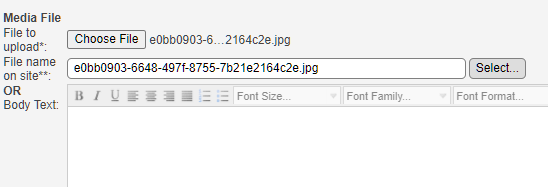
Select the media file you wish to upload. You can add some more info in the body text if you wish.
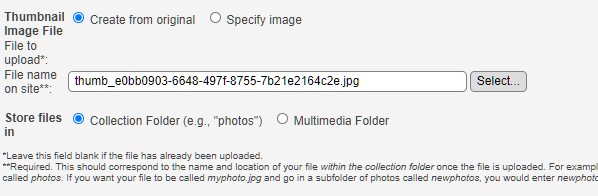
Check the thumbnails options, normaly you should be good with “Create from original” and leave the Store files to be set as Collection folder as you see below.
Next is Media Information
In this example i have located a headstone at Slekt og Data , so a link to their page is set as owner. On your own images, you can set yourself as owner.
For this headstone to be visible on the cemetery page you must 1 add the cemetery 2 mark of that it is to be included as you will see on the picture below.
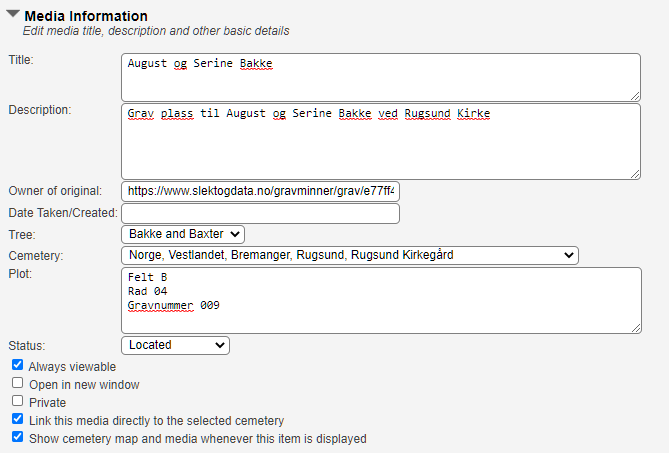
When done press “Save and Continue”

On the next window, you will see 3 new tabs. Media Links, Place Take/Created & Image Tags.
First we will look at Media Links, this is where you can add people, families , sources and more.
Media Links
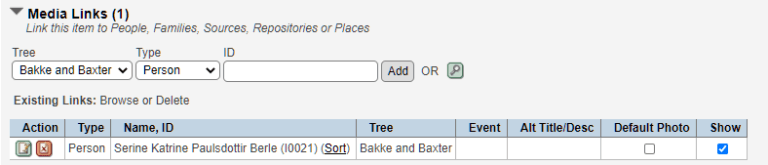
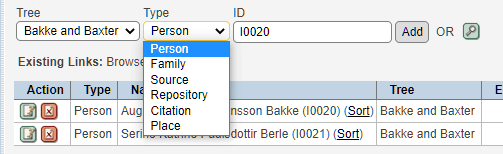
Above you will see we have one person already, on this example i want to add one more person that is on the same headstone, My great grandfather August. To add him i will look him up with the magnifying glass. ![]()
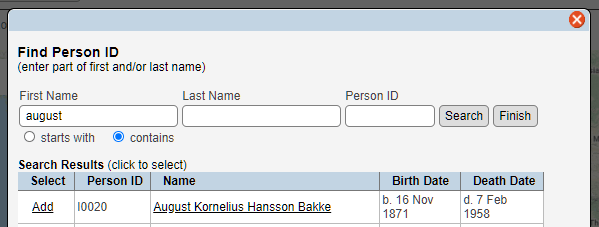
His nr is now in the box and I can press add.
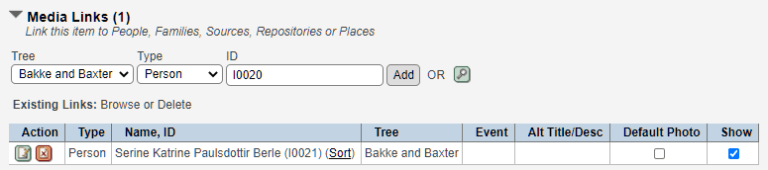
They are now both linked to this headstone.

You can add more people, family etc. by changing the “type” and doing a new search.
Here you can also add an event to this . As this is a headstone it will be added to their burial event. You do this by pressing the edit function by there name.![]()
A new pop up window will appear and you can add this image to an event as shown below.
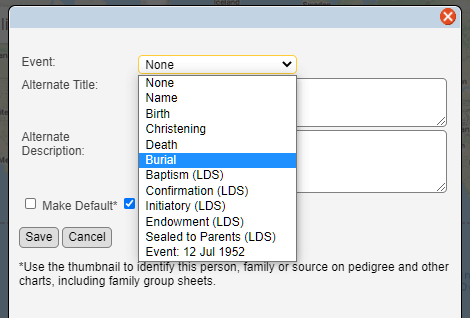
Now they will have an event assigned as well.

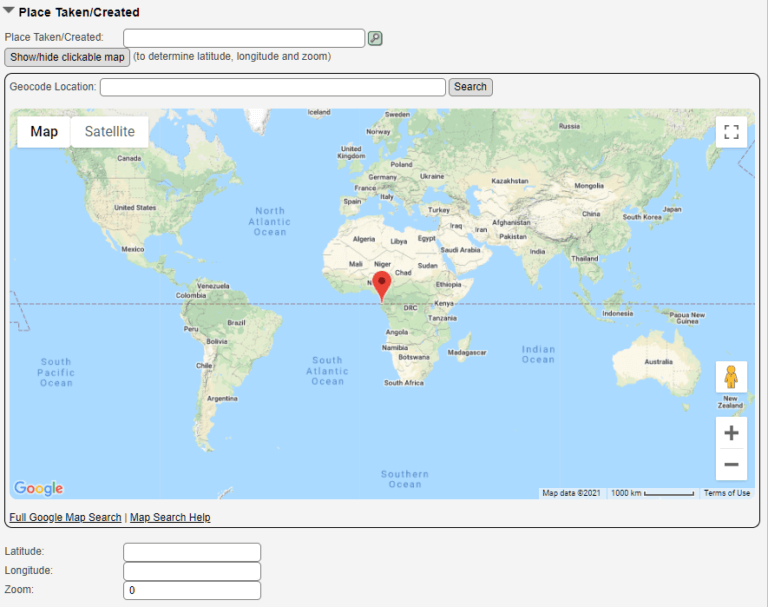
Place Taken/Created
Here you can pin point exactly where the headstone is. Search for cemetery and then click on the headstone. It will then appear on the cemetery page so you can see where the different headstones are.
Here is an example of a cemetery with some headstones locations set up on the map.
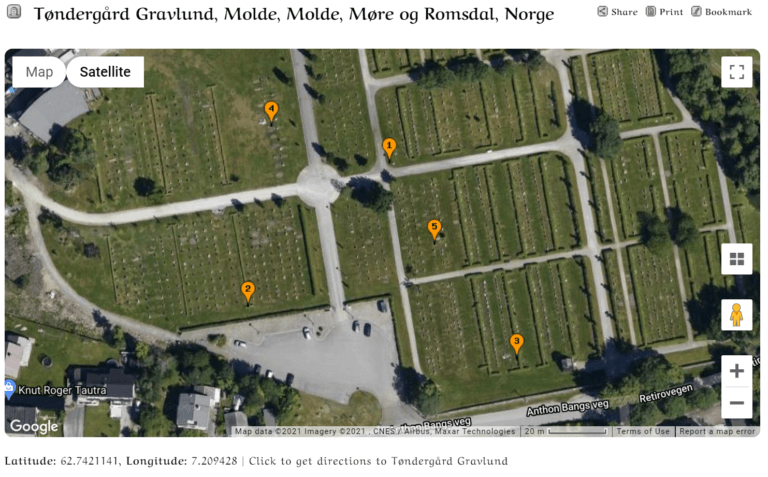
Another plus this is that when you click on those locations you will see who it is and get a picture of the headstone.
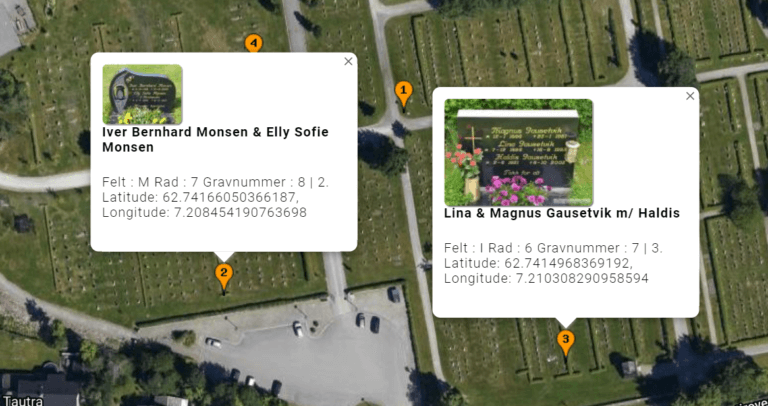
Image Tags
Last section is the image tags. Here you can tag an image to show exactly where that person is. Not a must on a gravestone unless you have several graves on teh same picture, then it can be good.
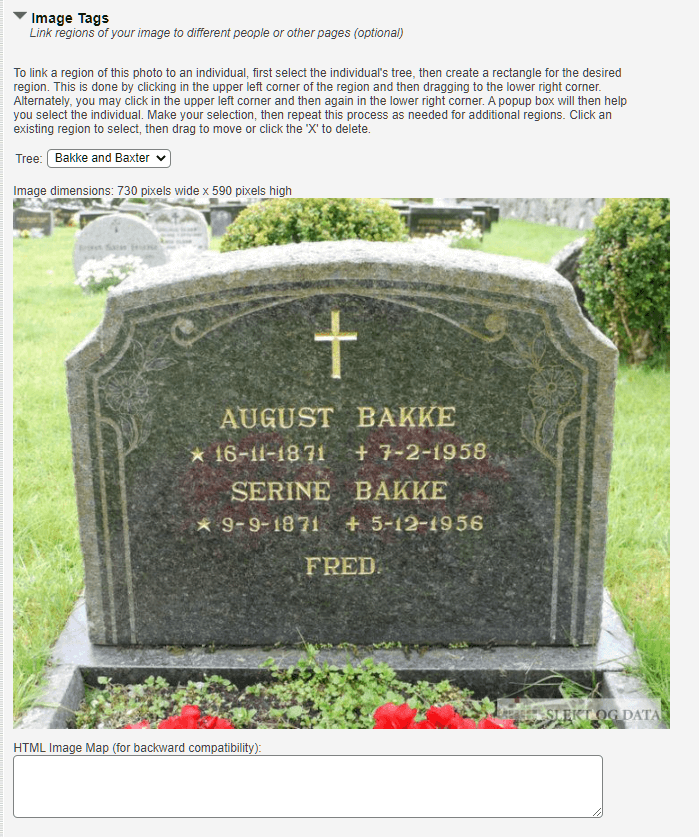
To tag someone, highlight the area you want to tag

After you have highlighted it, a pop up window will appear and let you choose who to tag.

Repeat until you have tagged everyone.
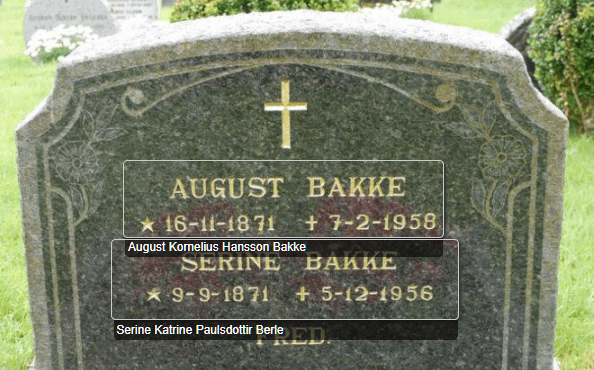
When done, you can press Save and Exit.

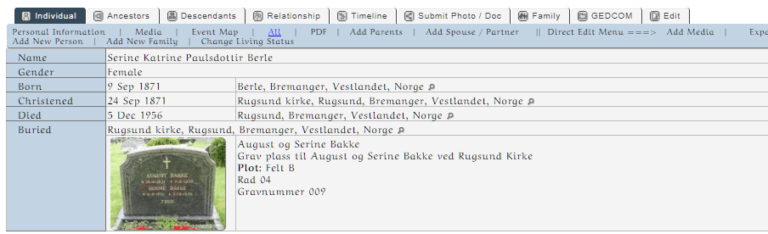
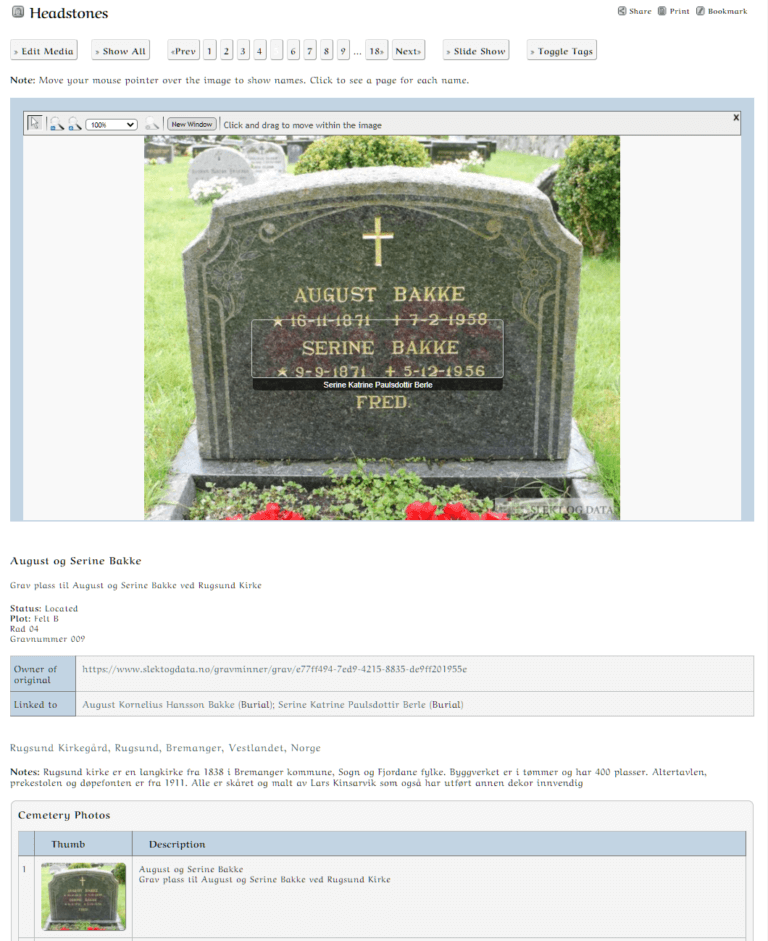
Here are the places on the site this image is now showing
On the person info page it will be under their personal information.
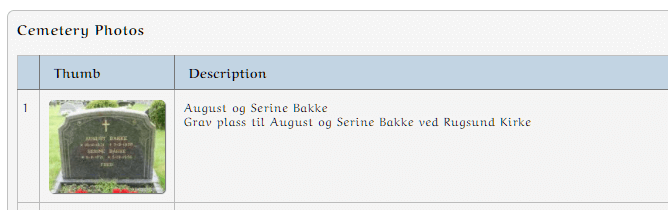
On the cemetery page it is listed under their cemetery photos section.
You can click on the image on either of those 2 pages to get to the media page.
There you can re access the editing page if needed.
That is all for now.
Majority of this is the same for most kinds of media, images, documents and other files.
Leave A Comment